Vlogging and Remotely Controlling the Z fc
The Z fc is a great option for creators who want to vlog or take selfies—and it even features a self-portrait mode. Along with the LCD, Eye-detection Autofocus ensures your eyes (or that of your subject) will be sharp. You’ve even got multiple options for remotely shooting video or stills.
Vlogger monitor
When faced forward, the Z fc’s Vari-angle display activates the self-portrait mode for easier vlogging and first-person recording. Self-portrait mode brings key camera controls to the monitor so you can conveniently touch and tap adjustments.
Remotely shooting with the Z fc
You might often find yourself wanting to vlog and capture video or take selfies and want to control the camera yourself (either because you want to control everything or because you don’t have anyone around to assist you.
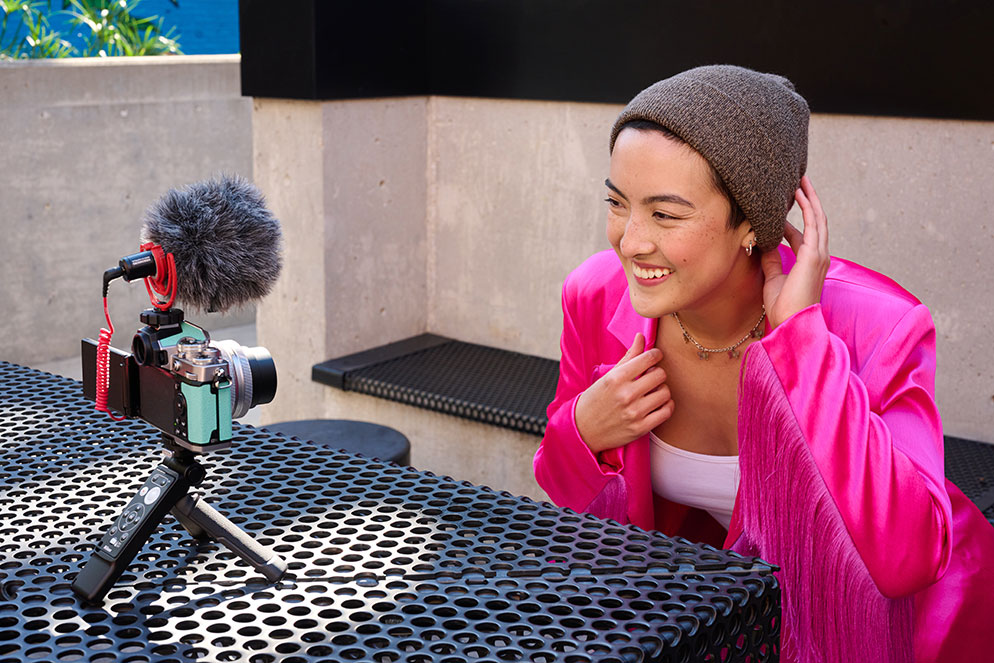
Holding the camera at arms-length in selfie mode works for some, but for others it may seem unwieldy. Putting the camera on a tripod (whether it’s a full size one or a table-top tripod) only solves half your problem. You still need a way to control the camera—to start and stop video or snap photos.
Frame up your composition, set the camera’s built-in self-timer and smile. Tapping the self-timer icon lets you select the shutter-release delay and number of shots to capture.
You can use a compatible smart device (phone or tablet) and the SnapBridge app to remotely control the camera. Another option is to use the optional ML-L7 Bluetooth Remote Control. In fact, the ML-L7 can be used in conjunction with the time delay shutter to give yourself two seconds to hide the remote and smile or start talking.
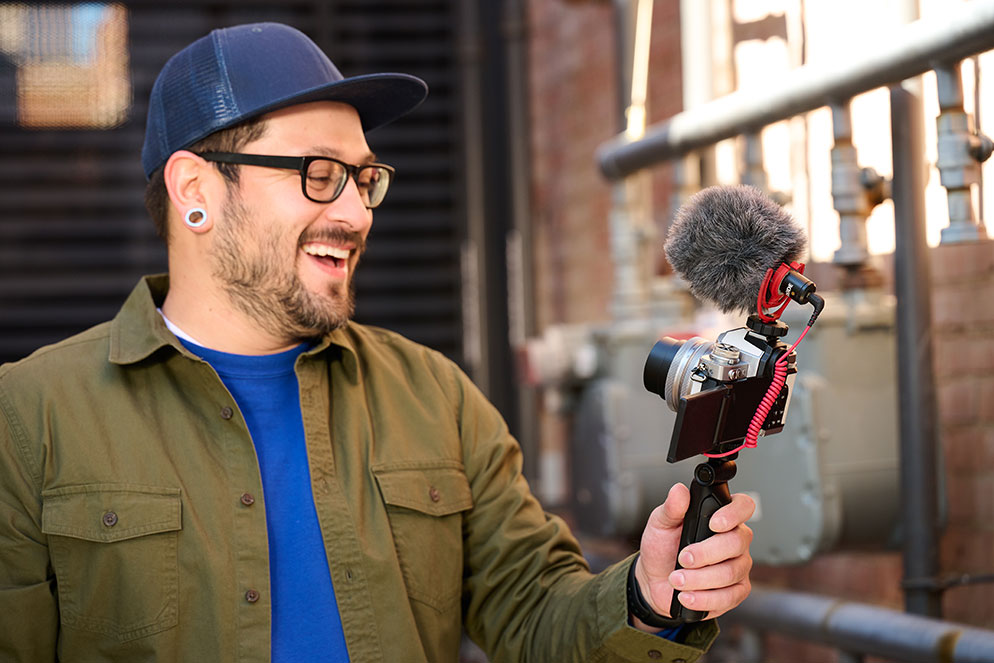
The Z 30 Creator’s Accessory Kit is even compatible with the Z fc. It includes a RØDE VIdeoMicro external mic, the ML-L7 Bluetooth Remote Control and the SmallRig Tripod Rrip which doubles as both a handheld grip and a tabletop tripod.
Stream to your fans
You’ll look your absolute best when you stream with the Z fc and a NIKKOR Z lens instead of the camera on your computer. Simply connect the camera to your computer with a USB Type-C cable like the Nikon UC-E25 (sold separately) and Nikon’s free Webcam Utility software. You’ll get the sharpness, clarity and flattering depth of field (when using a fast aperture lens) unlike what’s possible from a typical webcam.
With the vintage styled Z fc and a few optional accessories, you can find yourself vlogging in no time and looking stylish while you’re at it.
Video Settings $
Video Shooting Mode
You’ve got the choice of shooting modes when capturing video, but they work a little differently than when shooting still images. The ones you'll likely use most often for video are Auto, Aperture Priority (A) and Manual (M).
Set the camera to Auto and the camera will take full control, picking all the settings you’ll need for the situation you’re in. Alternately, setting the camera to manual means you choose all of the settings. Aperture Priority gives you the control over selecting the aperture with the camera setting the appropriate shutter speed (matched to the frame rate). You can also make other adjustments while in this mode, like white balance, Picture Controls, metering and more.
Focus Mode
The Focus Modes can be accessed through the i Menu. Most of the time you’ll likely want to keep the camera set to AF-F for full time Autofocus, which is the ideal setting for moving subjects. Manual is reliant on you the videographer being the one to adjust focus using the focus or control ring on the lens itself. This is ideal for controlled rack focus which is more of an advanced technique.
AF-area Mode
The next mode to set is the AF-area Mode or Focus Point. You’ll also find it in the i Menu. There are multiple options, from single point to Wide-area small and large, Auto-area and both Wide-area and Auto-area options for people or animals.
These three—Single Point AF, Wide-area AF S and Wide-area AF L—let you choose how large an area you want the focus point to be. Auto-area AF lets you select almost the entire frame for focusing. The last four options—Wide-area AF (L for people), Wide-area AF (L for animals), Auto-area AF (people) and Auto-area AF (animals)—are used either for capturing video of mainly people or animals and selected based upon how large of a focus area you want. In these modes, the camera will hone in on the face or eyes of a person or animal (respectively, depending on which you’ve selected).
Frame Size/Frame Rate
Next, you’ll need to set the frame size and frame rate, which control the size and resolution of your video. The Frame Rate is the number of frames that are recorded per second. The higher the frame rate, the smoother your video footage will look. For a cinematic look, use 24p. For action, use 60p and for most other general video you can use 30p.
Frame size of 3840×2160 is what you’ll want to select for 4K UHD or 1920x1080 for Full HD. You can choose the frame rate and frame size combination that best suits the needs of what you’re shooting and what you intend to do with the final footage.
Slow motion
You can also record slow motion videos using the Z fc.
Select [1920×1080; 30p ×4 (slow-motion)], [1920×1080; 25p ×4 (slow-motion)], or [1920×1080; 24p ×5 (slow-motion)] for [Frame size/frame rate]. Just note that sound won’t be recorded. To understand how this works, in [1920×1080; 30p ×4 (slow-motion)], images read at a frame rate of 120p are recorded as a video in 30p. A video recorded for about 10 seconds will be played back for about 40 seconds. This is a cool option to use if you want to capture the minute action in sports or of a pet or other animal running and jumping.